
User Manuals
Complete guide to using the Digital Job Card Mobile App
⚡ Quick Start Guide
Getting Started in 5 Minutes
-
Step 1: Open the App - First ScreenAs shown in screenshot 1, when you first open the Digital Job Card app on your Android device, you'll see the initial welcome screen displayed in the image. This is the first screen that appears after launching the app. The screen shows the app's main interface with navigation options and key features. From here, you can access all the app's functions including creating job cards, viewing assigned jobs, and managing settings. This is your starting point for using the app.
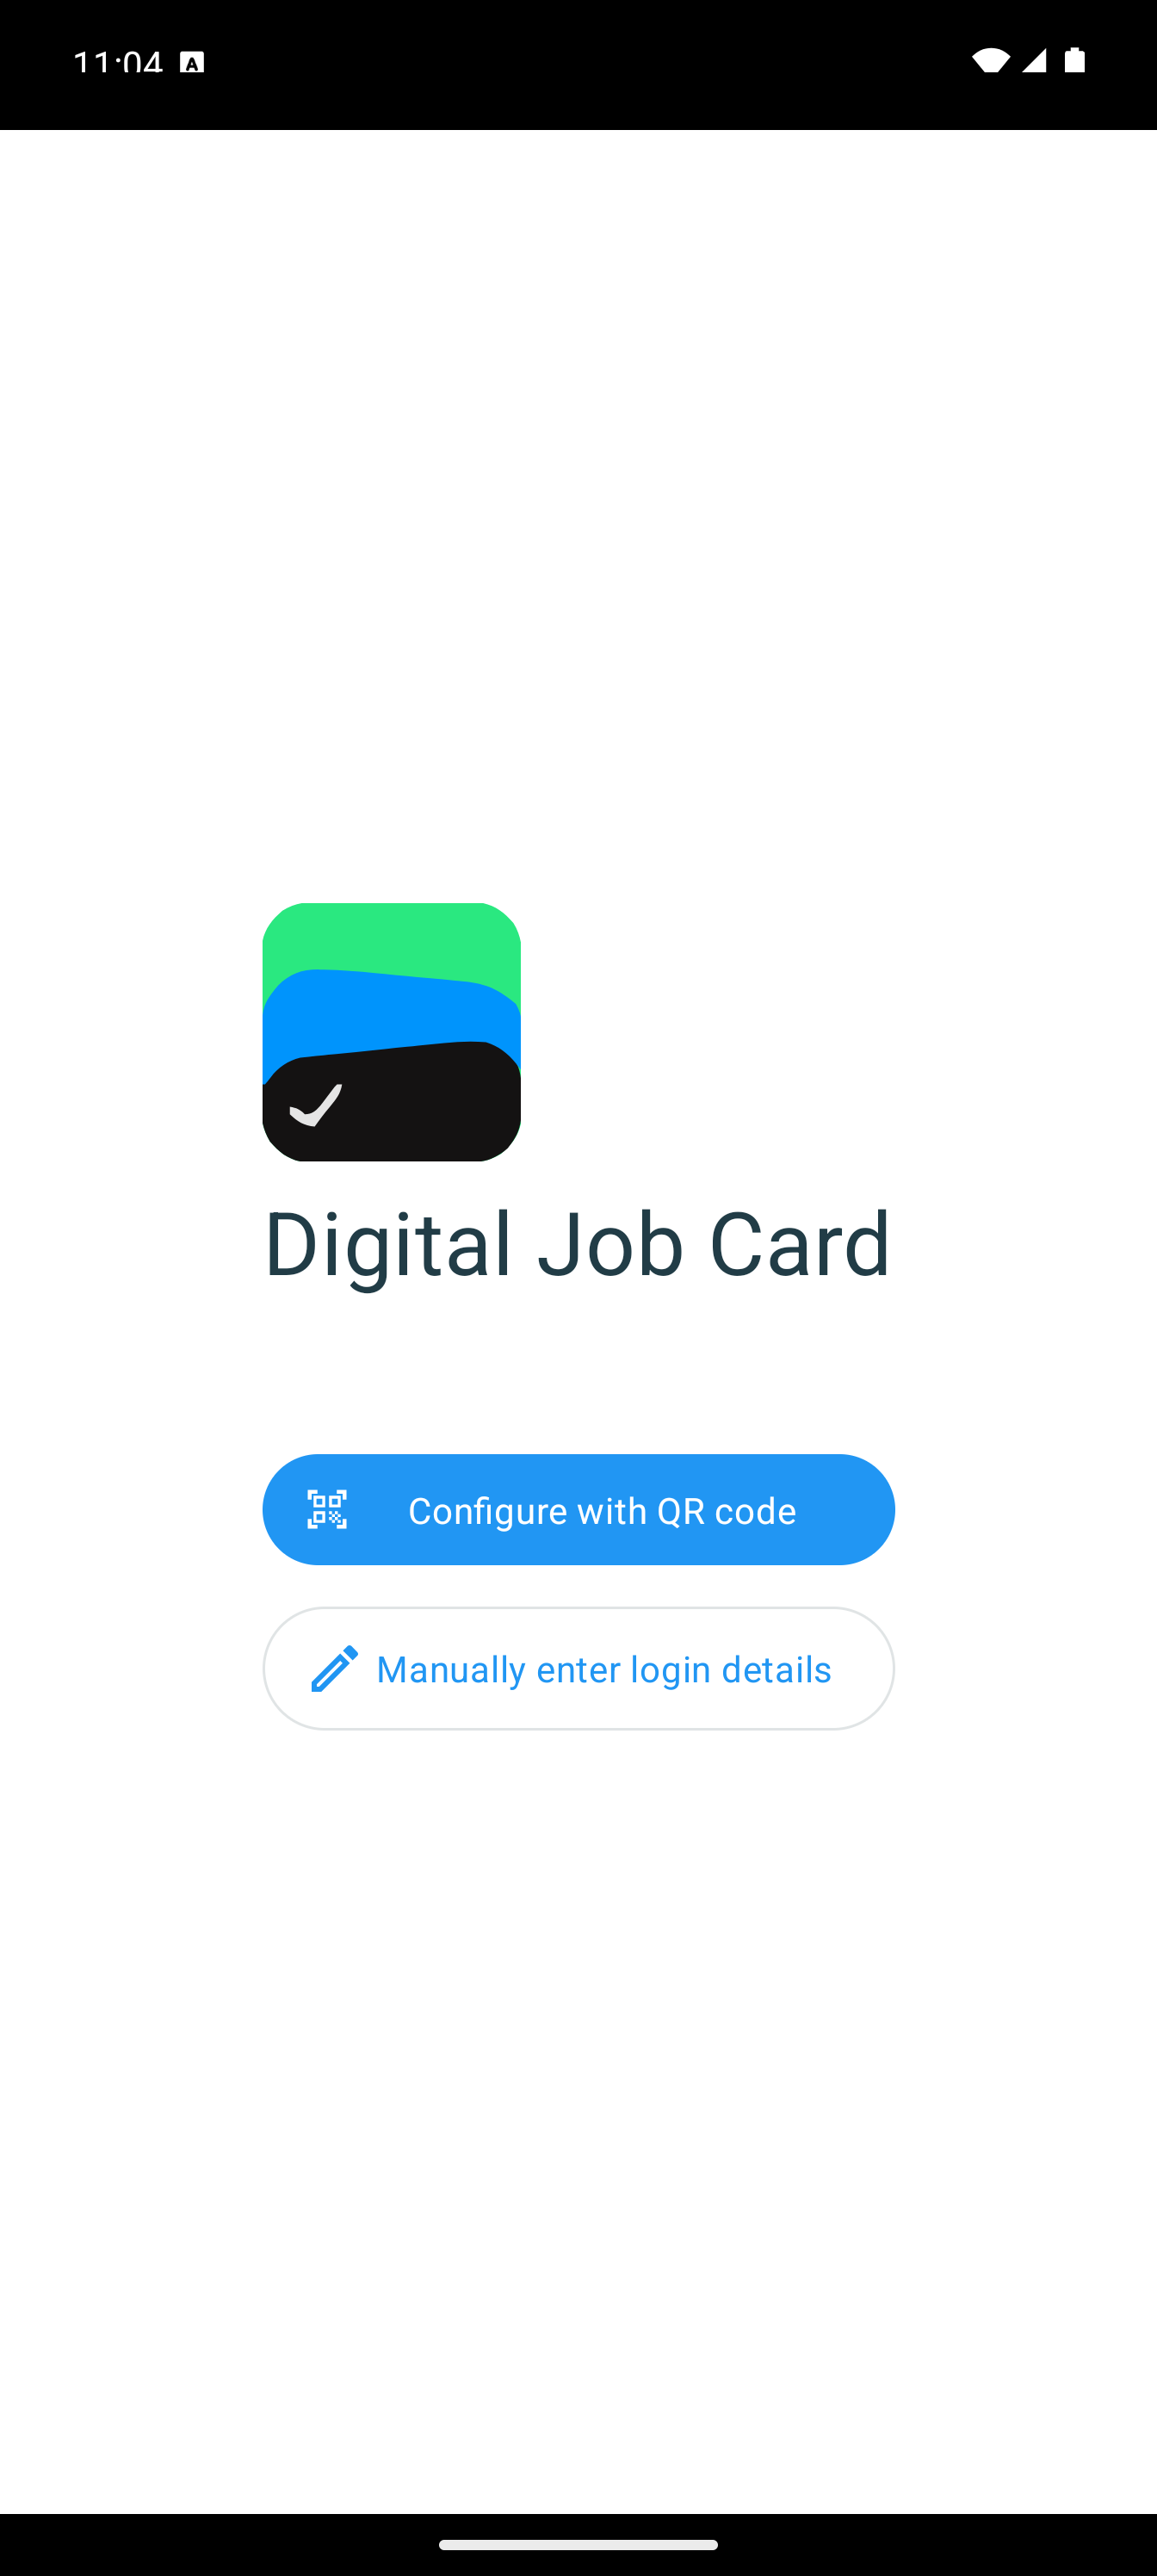 Screenshot 1: Initial app launch screen - the first screen users see when opening the app
 -
Step 2: Sign In with Your CredentialsAs displayed in screenshot 2, you'll see the login screen with username and password fields. Enter your username in the first field and your password in the second field. These credentials are provided by your system administrator. After entering your credentials, tap the "Login" or "Sign In" button shown on the screen. The app will verify your credentials with the server. Upon successful authentication, you'll proceed to the next screen (shown in Step 3).
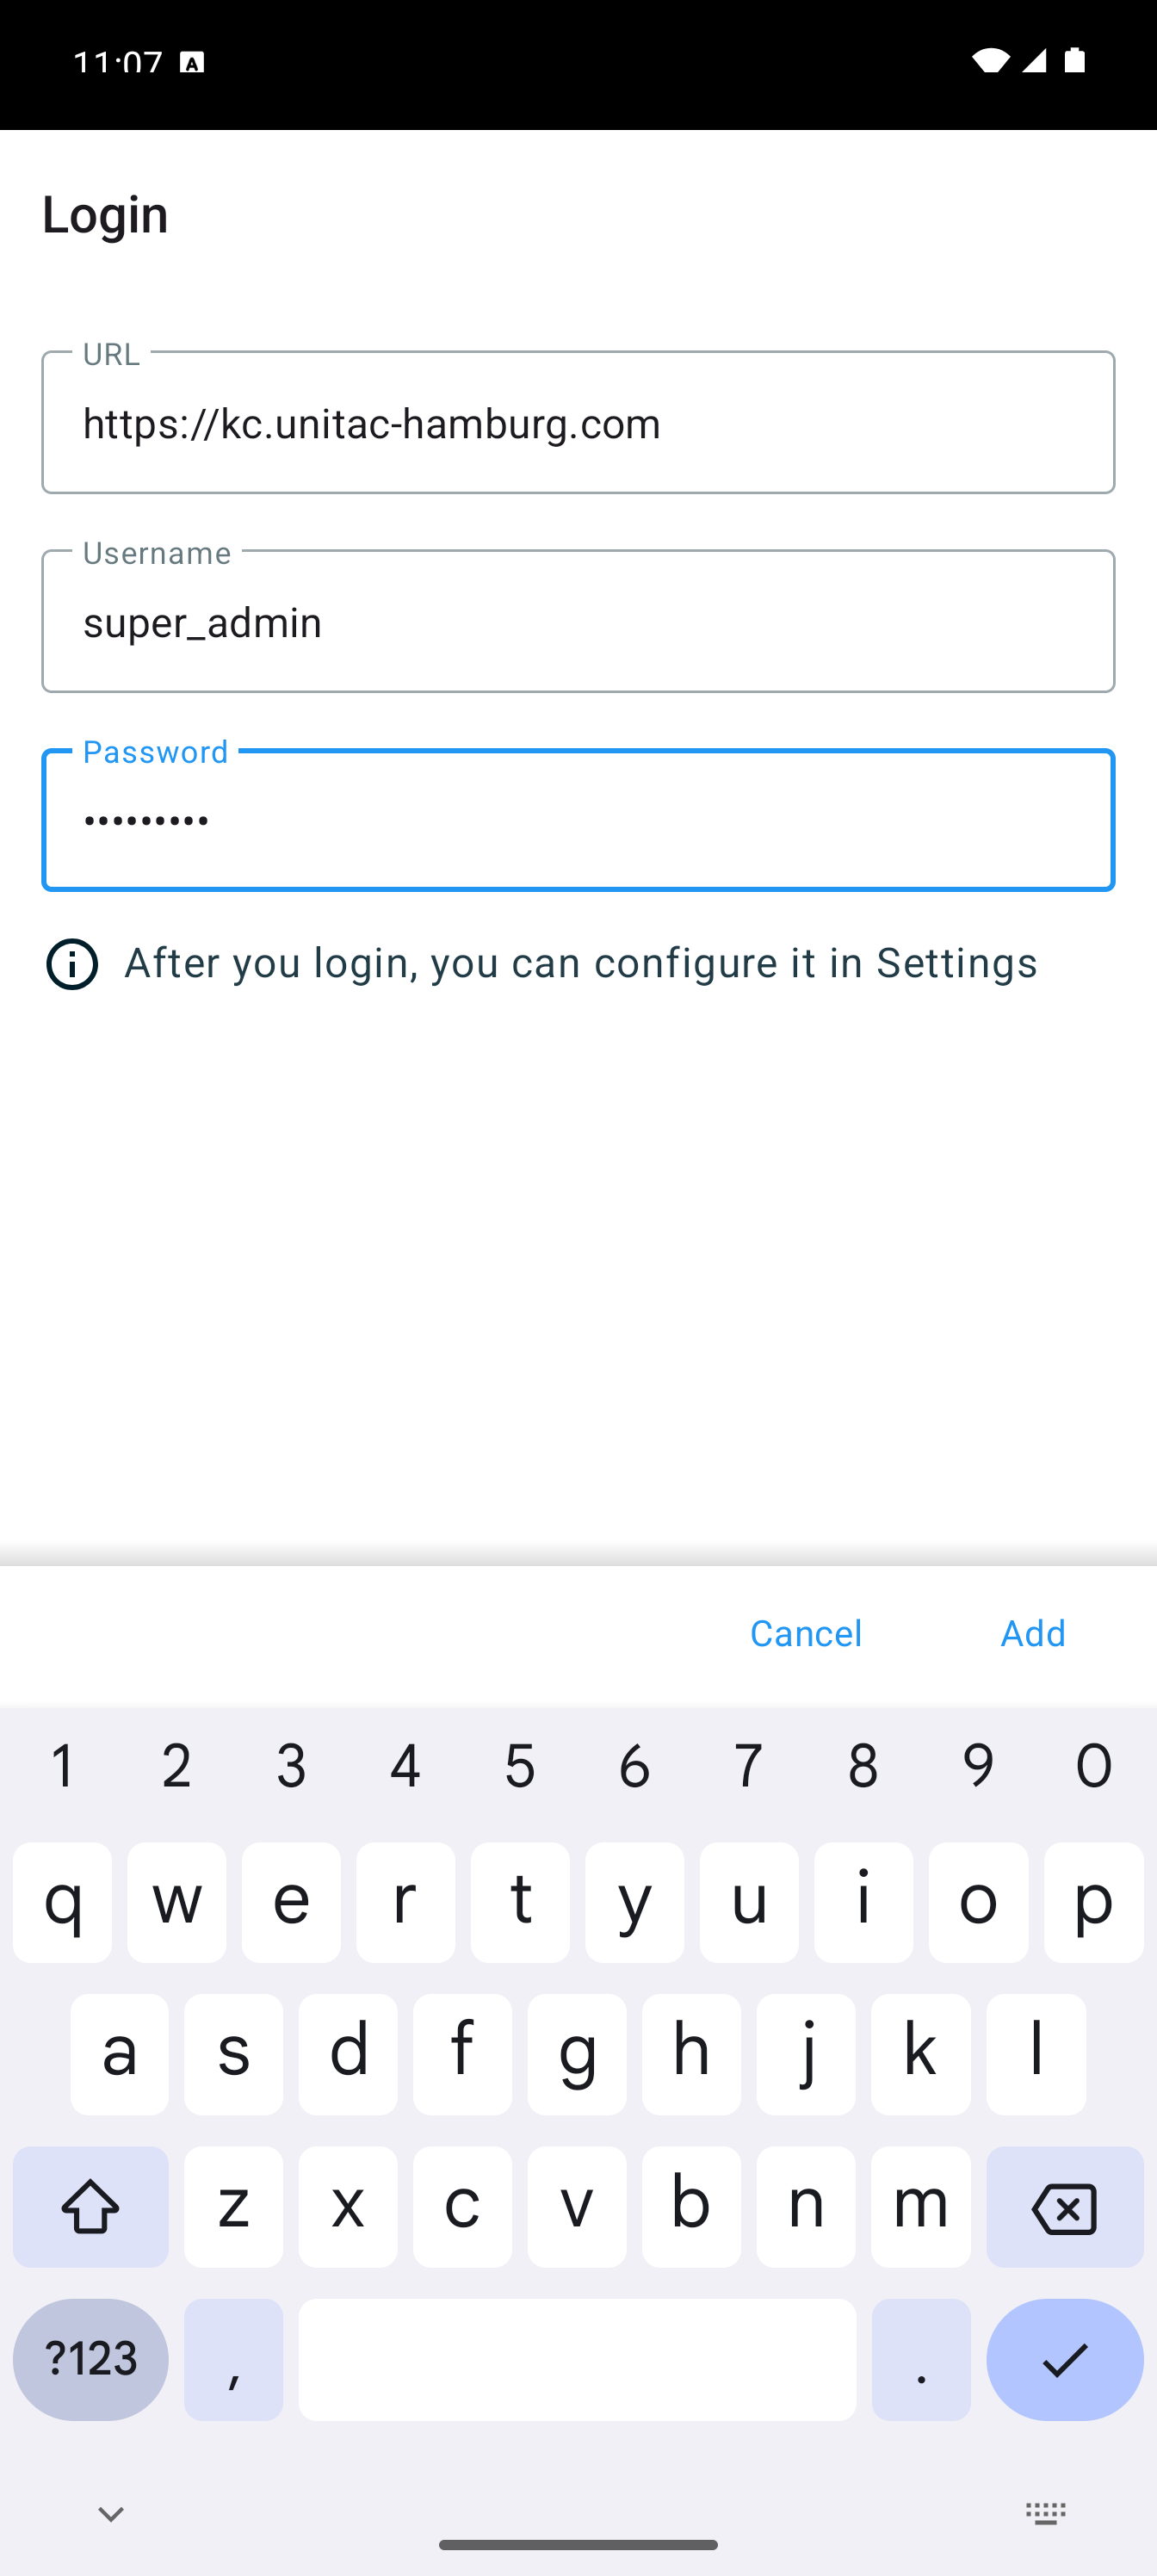 Screenshot 2: Login screen showing username and password input fields with sign in button
 -
Step 3: After Signing In - Main DashboardAs shown in screenshot 3, after you successfully sign in with your username and password, this is the screen that appears. This is your main dashboard where you can see an overview of your job cards and access all the app's features. The screen displays your account information and provides navigation options to create new job cards, view assigned jobs, access settings, and manage your data. This is your home screen after authentication.
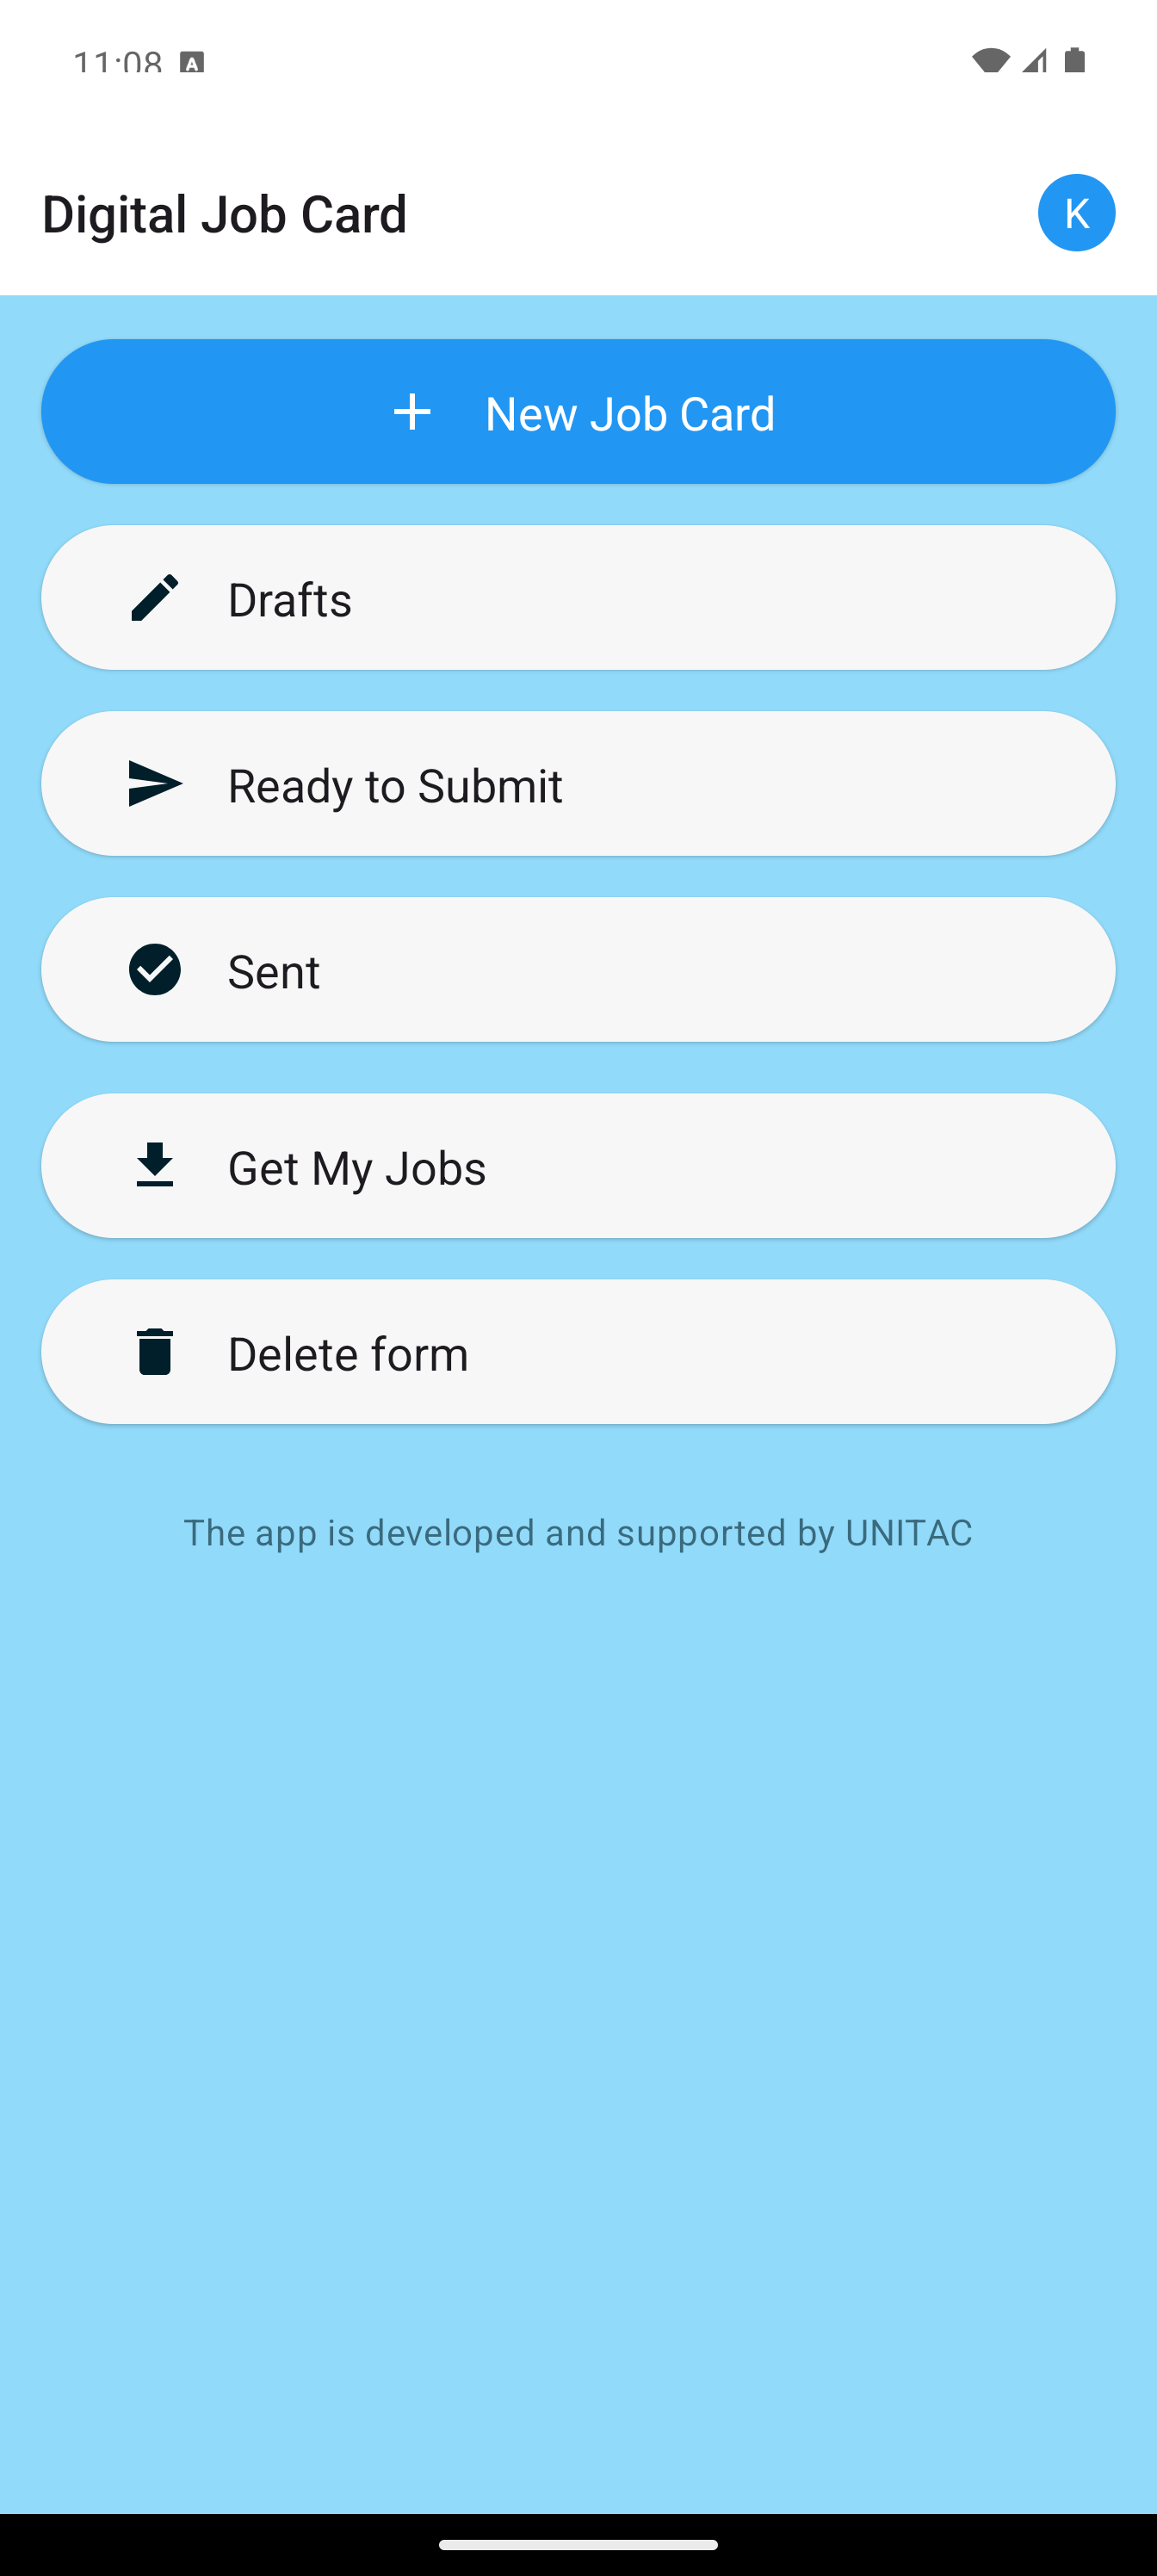 Screenshot 3: Main dashboard screen that appears after successfully signing in
 -
Step 4: Navigate to Download JobsFrom the main dashboard (shown in Step 3), navigate to the "Get My Jobs" or "Download Jobs" option from the main menu. This will prepare you to download your assigned job cards in the next step.
-
Step 5: Access Job Card CreationFrom the main dashboard, tap on "Start a New Job Card" button to begin creating a new job card. This will take you to the job card creation process shown in the following steps.
-
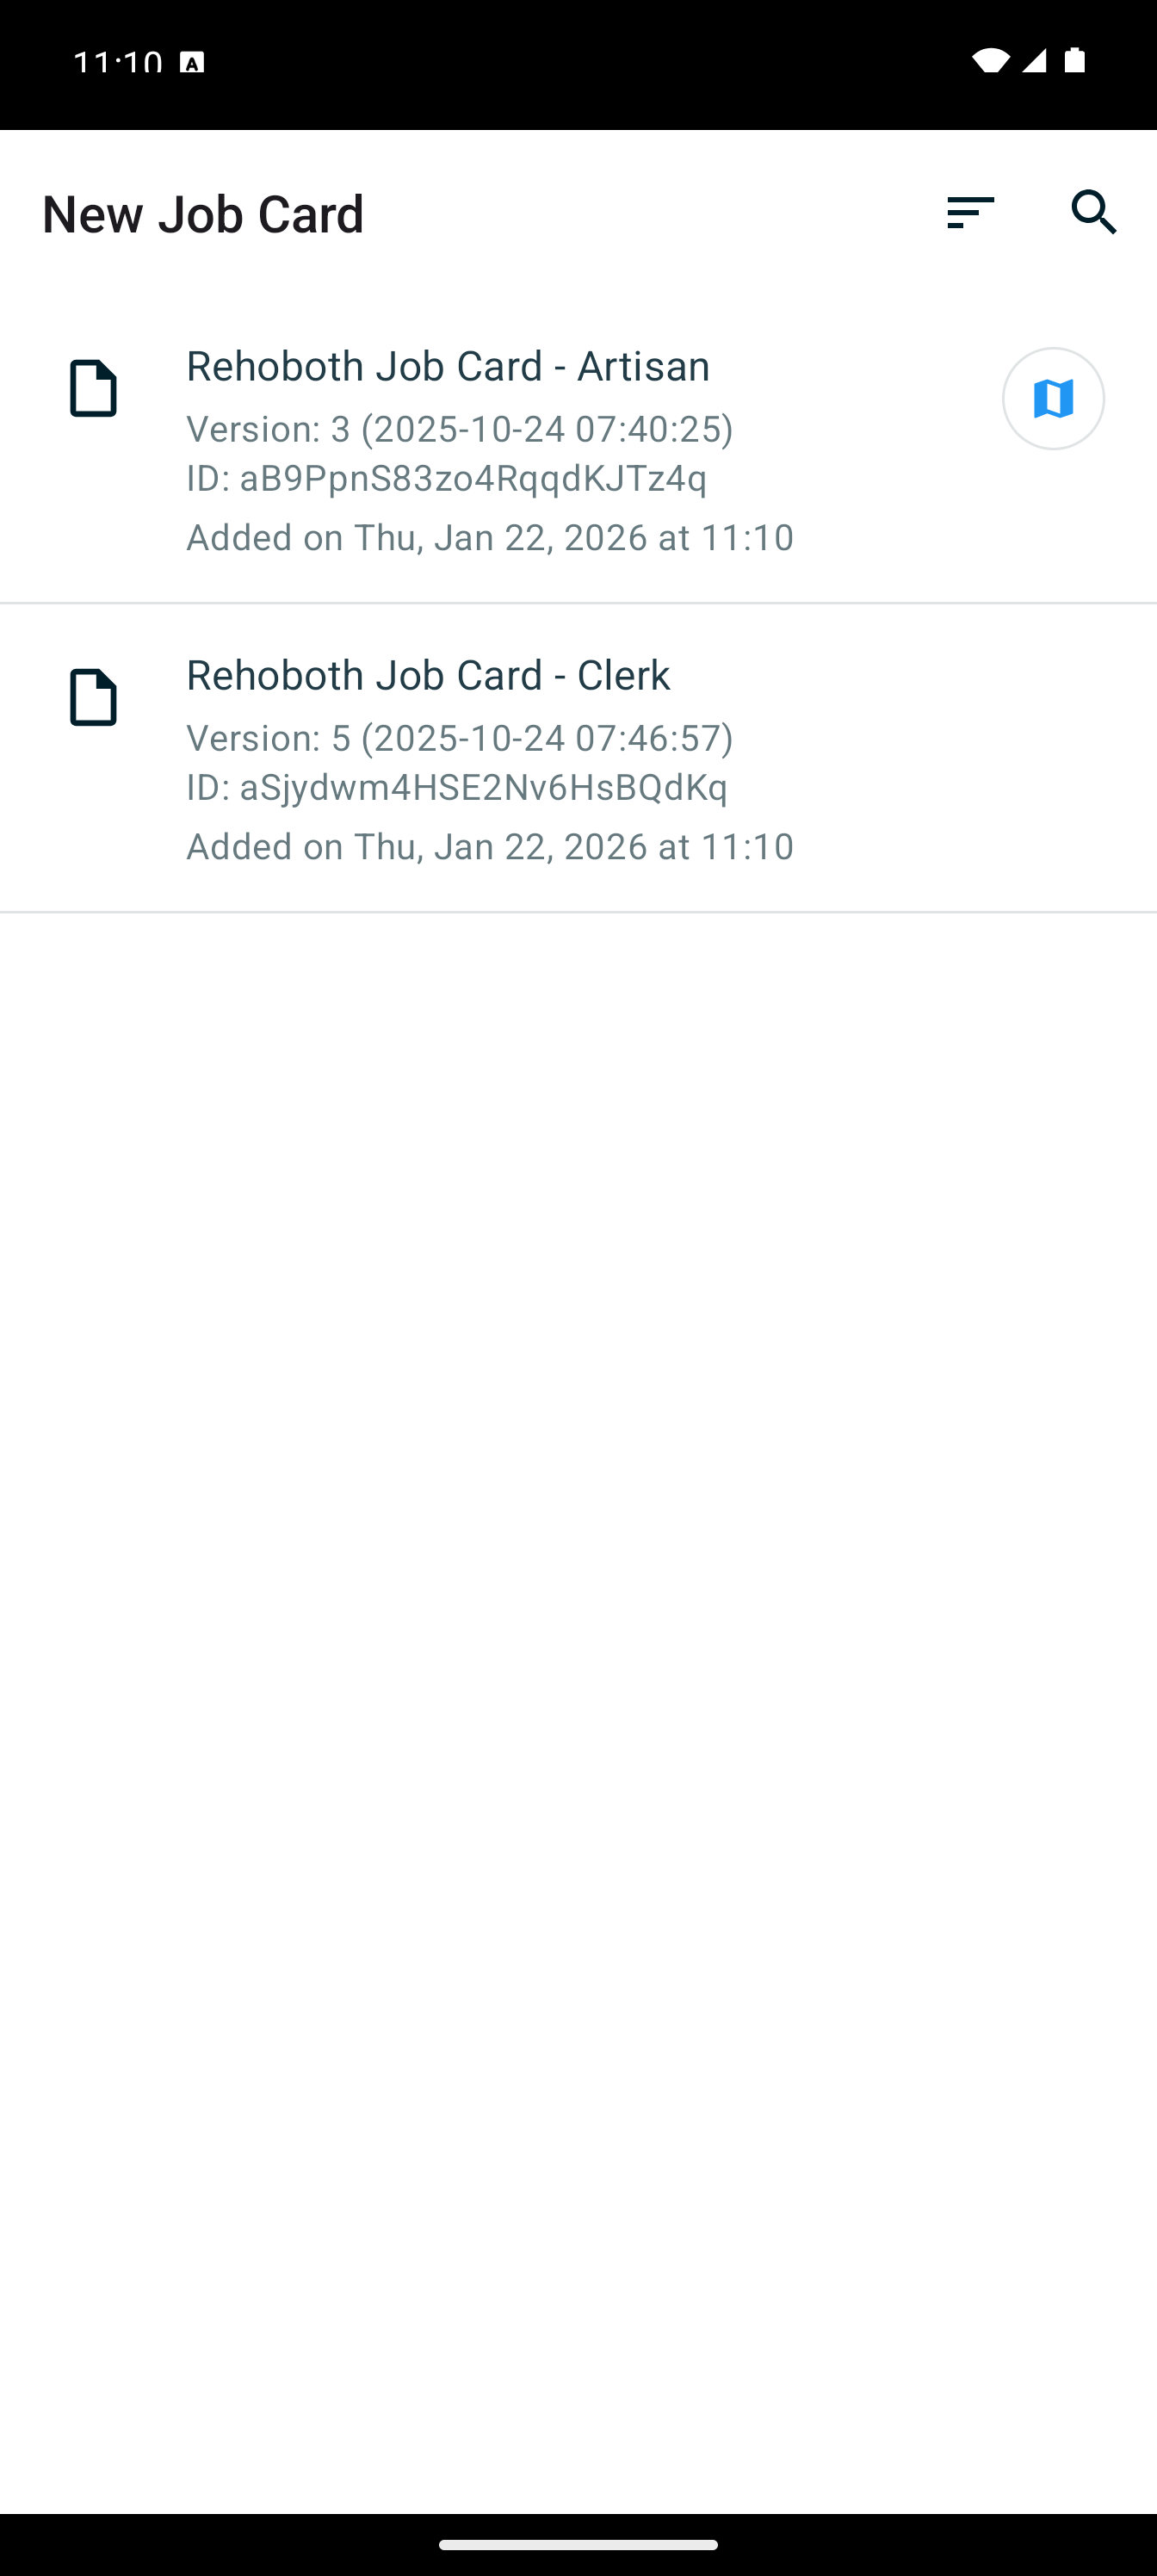
Step 6: Download Your Assigned Job CardsAs displayed in screenshot 6, this screen shows the download interface for job cards assigned to you. You can see the download screen displayed in the image with all the visual elements and options shown. The screen displays the download progress indicator and shows each job card as it's being downloaded from the server. You can see the list of job cards, their download status, and progress bars or indicators visible in the screenshot. The screen shows buttons and options for managing the download process. Once the download is complete (as indicated by the status shown on the screen), all your assigned job cards will be available on your device. These job cards are stored locally, so you can access and work with them even when you're offline or don't have an internet connection. Use the buttons and options visible on this screen to view downloaded job cards or return to the main menu.
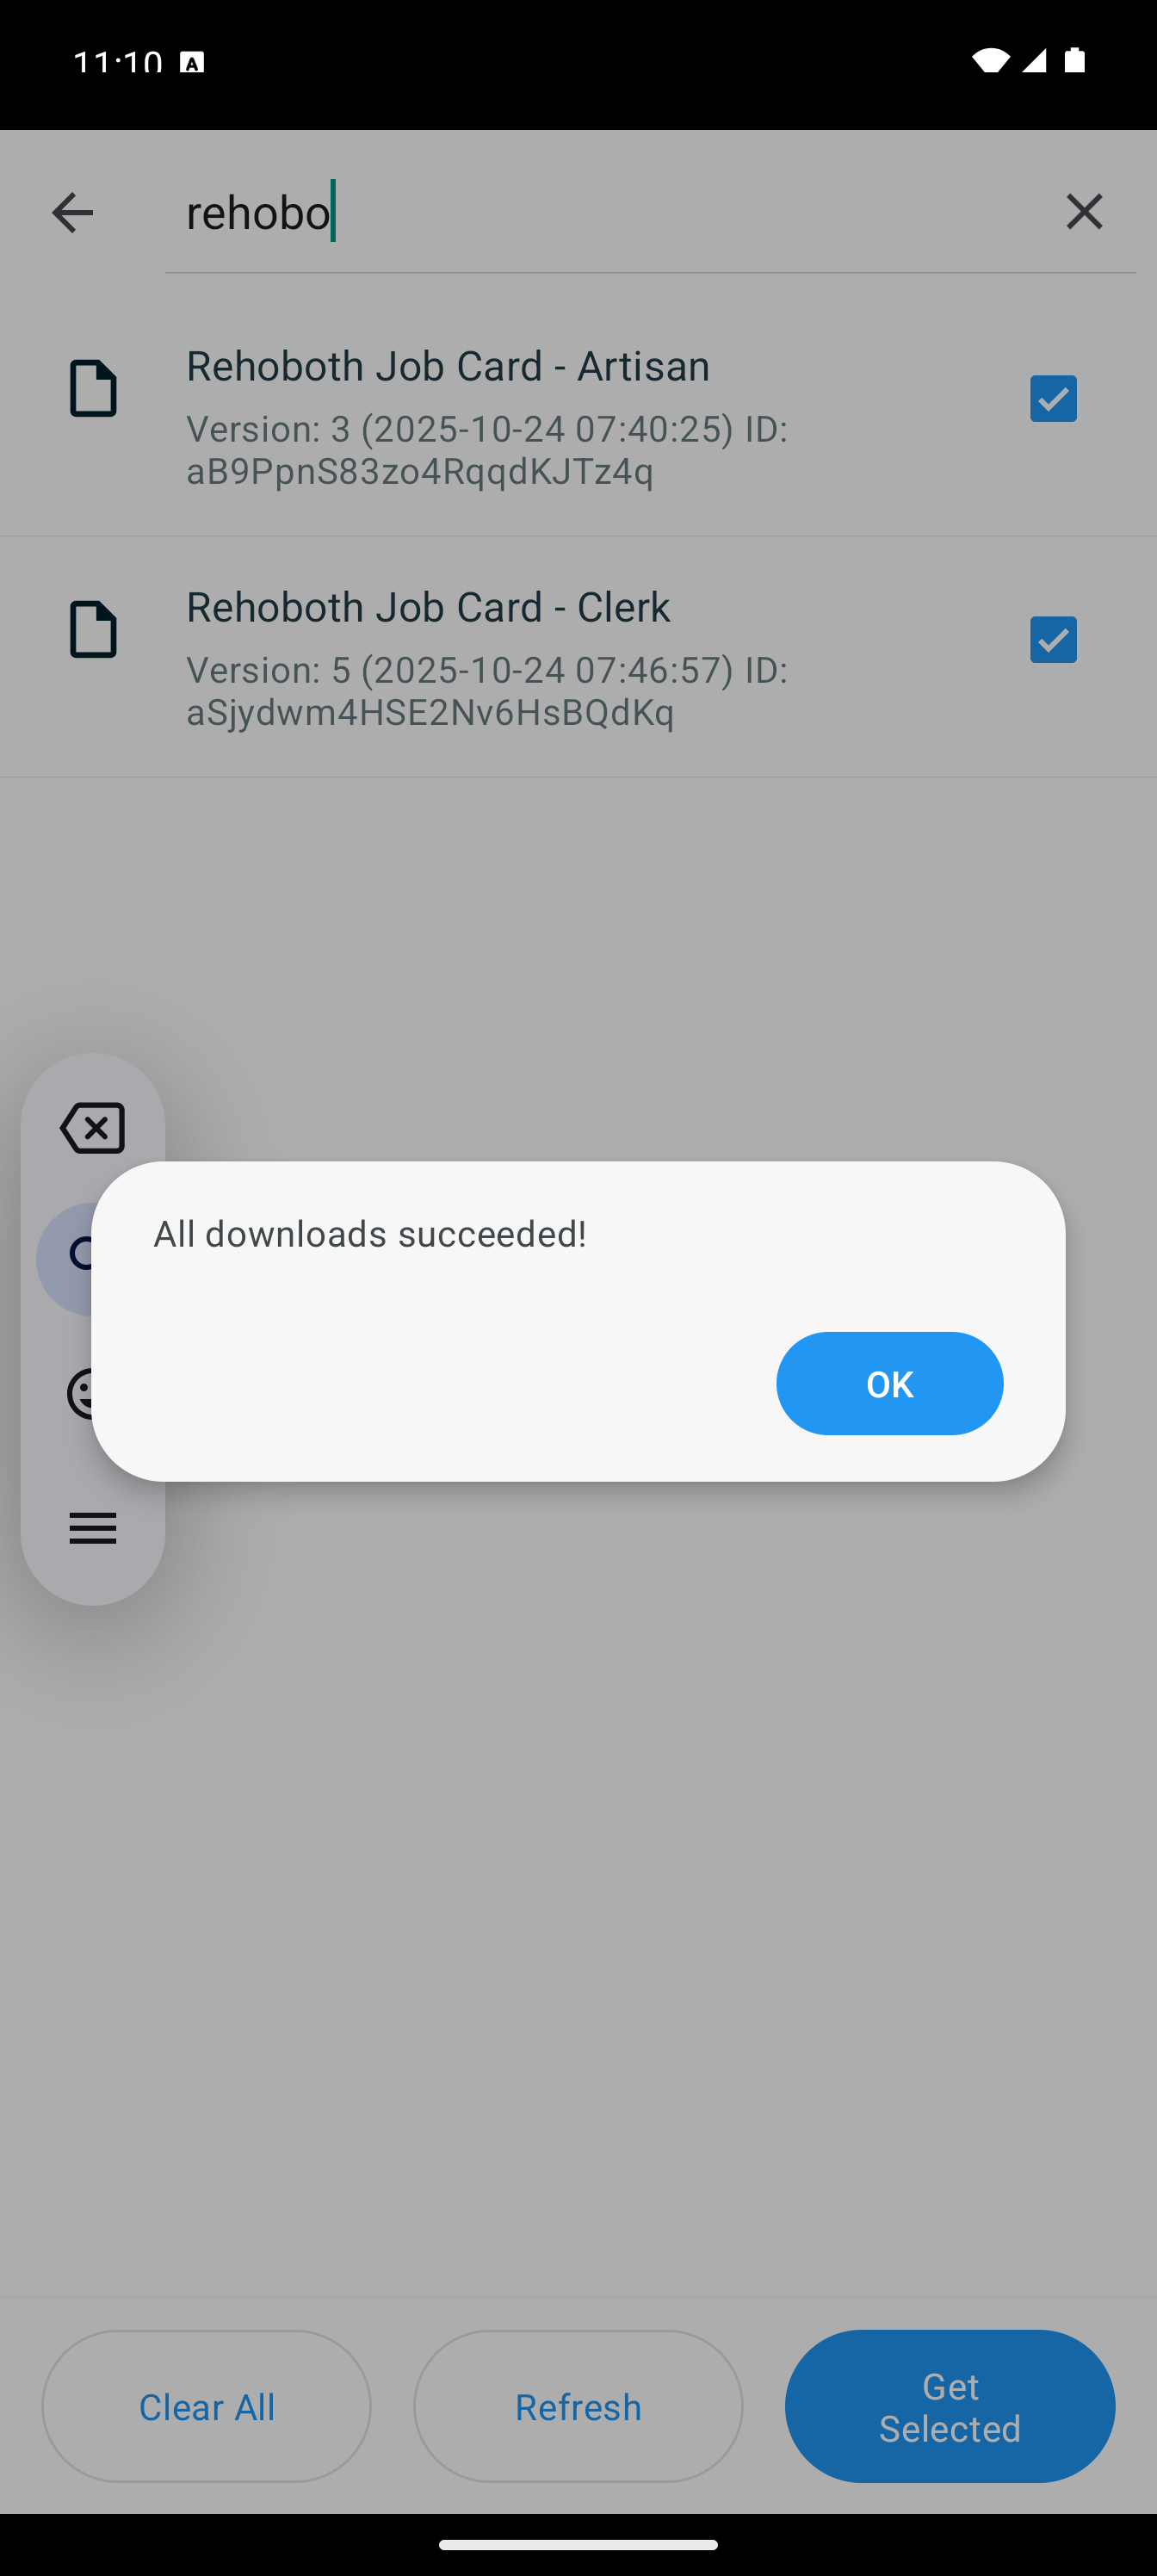 Screenshot 6: Screen showing the download process for job cards assigned to you
 -
Step 7: Start a New Job CardAs shown in screenshot 7, this screen appears when you tap "Start a New Job Card" from the main menu or dashboard. The screen displays the initial job card creation interface shown in the image. You can see the form layout, navigation elements, and the beginning of the input fields displayed in the screenshot. This screen shows the starting point for creating a new job card with the initial options and fields visible. The screen displays various sections, buttons, and input fields that you'll interact with. You can see the form structure, labels, and initial input options shown in the image. Tap on the fields, buttons, or options displayed on this screen to begin entering information for your new job card and proceed to the next step.
 Screenshot 7: Screen that appears when starting a new job card
 -
Step 8: Complete the Job Card DetailsAs displayed in screenshot 8, this screen shows the complete job card form with all input fields for filling in the job card details. You can see all the form fields, labels, and input options displayed in the image. The screen shows various input fields visible in the screenshot, including dropdown menus, text fields, and selection options for urgency level (Emergency or Normal), type of job (Planned or Unplanned Maintenance), location details, description of the work, and all other relevant fields shown in the image. Fill in all required information by tapping on each field displayed on the screen and entering the appropriate data. You can see the camera icon or photo attachment option visible in the screenshot - tap it to attach photos. GPS coordinates are automatically captured. The screen displays save and submit buttons at the bottom as shown in the image. The app automatically saves your progress as you type. When you've completed filling in all the fields visible in screenshot 8, tap the "Submit" or "Save" button shown on the screen to upload the job card to the server.
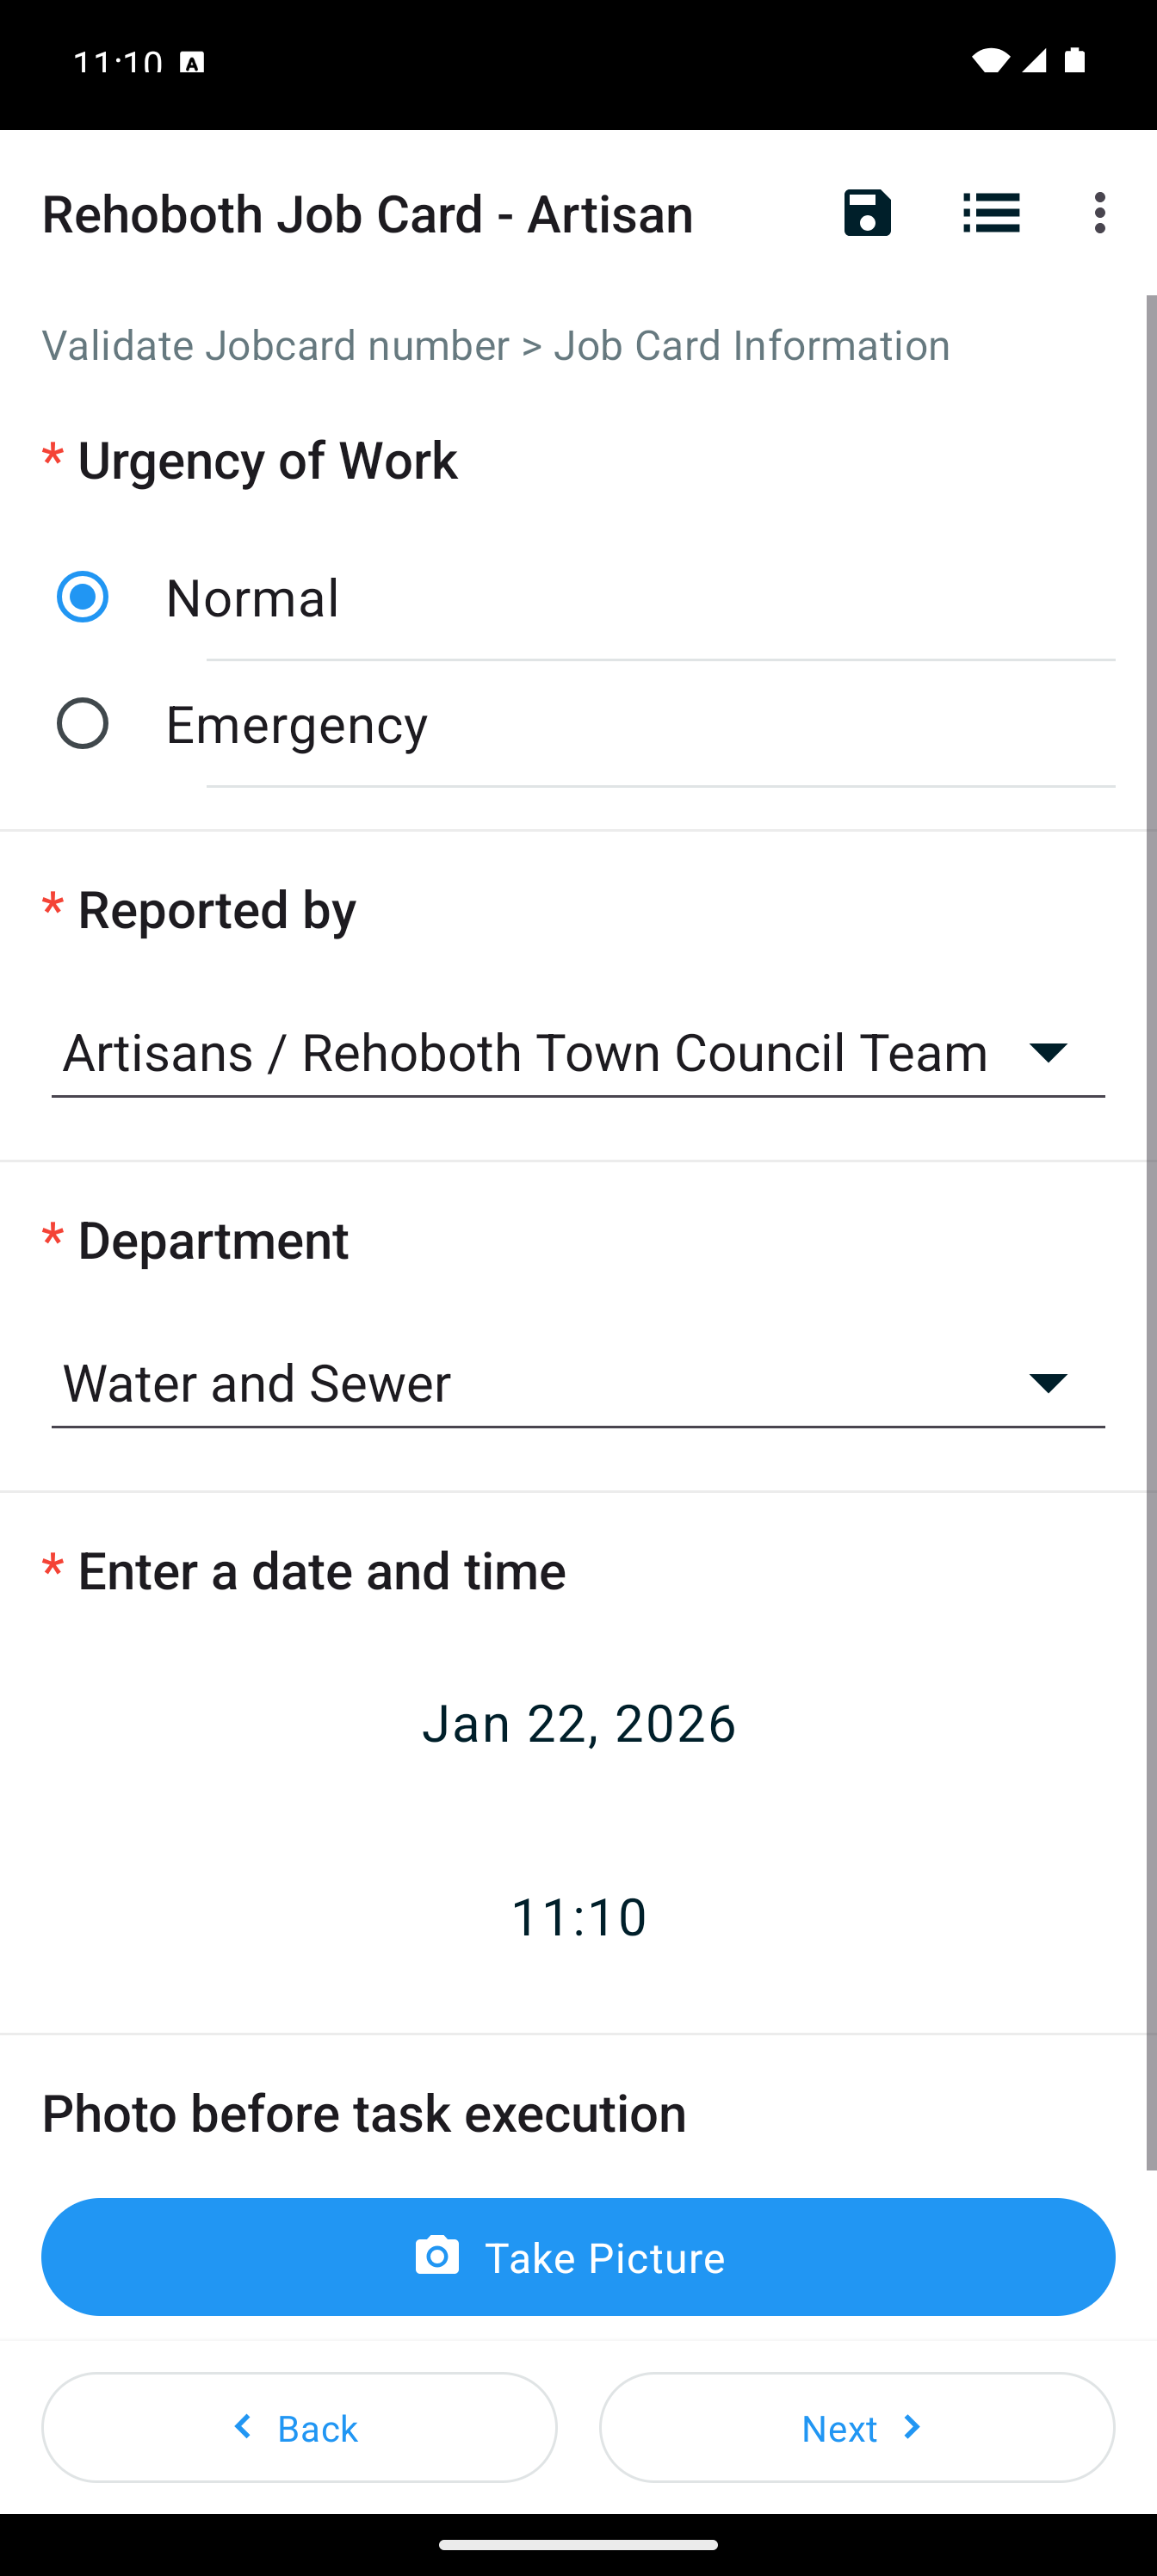 Screenshot 8: Job card form displaying all input fields for completing job card details
ℹ️
Important Information
Server URL: Always use https://kc.unitac-hamburg.com as your server address.
Credentials: Contact your system administrator if you don't have login credentials.
Data Storage: Records are stored in your browser/device until uploaded. Don't clear your browser data or uninstall the app before syncing.
Credentials: Contact your system administrator if you don't have login credentials.
Data Storage: Records are stored in your browser/device until uploaded. Don't clear your browser data or uninstall the app before syncing.
💡
Pro Tips
• Save as Draft: Use the "Save Draft" button to save incomplete job cards and finish them later.
• Force Upload: Don't wait for auto-sync - use the "Upload" button in the queue to send data immediately.
• Export Data: Use the "Export" button in the queue to download your data as a backup.
• Clear Storage: Only use "Clear Storage" when troubleshooting - it deletes all local data!
• Force Upload: Don't wait for auto-sync - use the "Upload" button in the queue to send data immediately.
• Export Data: Use the "Export" button in the queue to download your data as a backup.
• Clear Storage: Only use "Clear Storage" when troubleshooting - it deletes all local data!